Luxury vinyl plank (LVP) has become a popular flooring choice due to its durability, aesthetic appeal, and ease of installation. If you’re considering this option for your home, understanding what the installation process looks like can help you prepare.
The first step in installing luxury vinyl plank flooring is to prepare the subfloor.
This involves ensuring the surface is clean, dry, and level. Any debris, uneven spots, or moisture issues need to be addressed to prevent problems with the planks later on. In some cases, an underlayment may be recommended to provide additional cushioning and soundproofing.
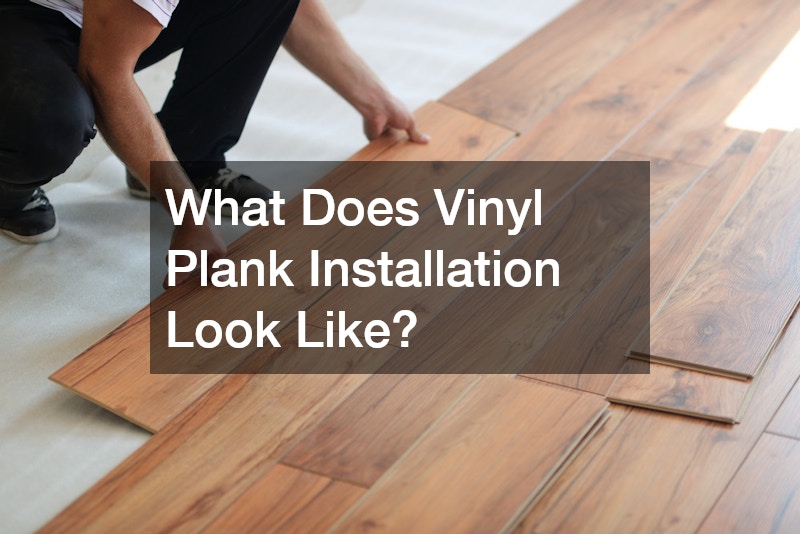
Once the subfloor is ready, the installation process begins. LVP typically uses a click-lock system, which allows the planks to snap together without the need for adhesives. Installation starts at one corner of the room, usually along the longest wall. Planks are laid out row by row, with each plank clicking into place with the adjacent one. Care is taken to stagger the seams between rows, creating a more natural wood-like appearance.
Cutting planks to fit around edges, doorways, and other obstacles is necessary and can be done with a utility knife or a saw. Once all planks are in place, any necessary trim or molding is installed to cover gaps between the floor and walls, giving the installation a polished finish.
The result is a sleek, durable floor that mimics the look of hardwood at a fraction of the cost, making luxury vinyl plank an excellent choice for both style and functionality.