In this video, you'll learn how to install a pour in place bollard forms, safeguarding your building from potential vehicle mishaps. The process kicks off with a look at a typical asphalt driveway before the installation begins. The presenter uses a Bosch rotor hammer to break through the asphalt, setting the stage for the installation.
Video Source
Grab your trenching shovel because you'll be digging a hole for the bollard, ensuring precise measurements for the pole's height. These safety bollards are more than just protective barriers; they're designed to reinforce the post in the ground, making them perfect for preventing vehicle damage in areas like parking lots. The installation process is a straightforward DIY project, requiring basic hand tools and coming at a minimal cost.
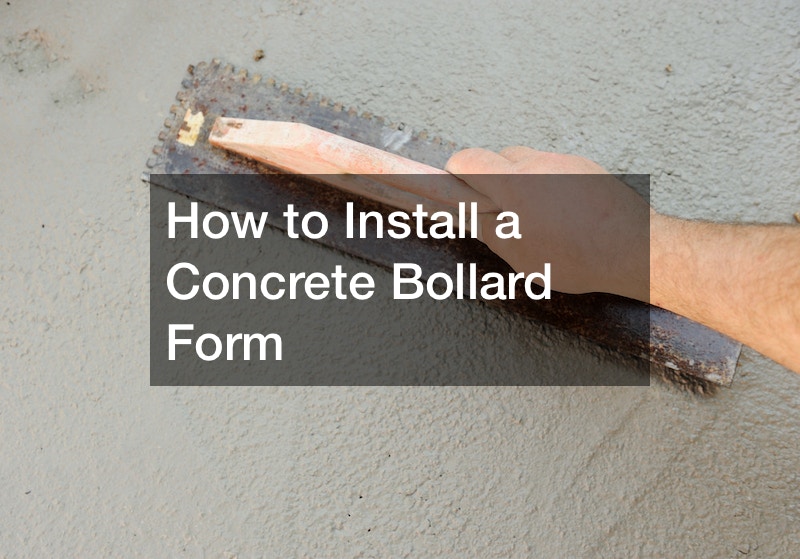
Fast-forward to the 5-minute mark, and you'll find the presenter demonstrating the concrete mixing process. With two bags of concrete in a wheelbarrow, you'll learn how to fill the holes around the bollard. Excess concrete is dealt with efficiently, and the surface is smoothed out for a polished finish. Keep things looking sharp by using alcohol wipes to clean the ground and bollards.
Once the concrete dries, these bollards become super strong and secure, ensuring your building stays protected from any future vehicle impacts. If you're looking for a cost-effective and DIY-friendly solution to enhance your building's safety, stick around for the rest of the video!
.